It's getting to be that time again..
Everyone is starting to get into the holiday spirit, so I thought I'd share a fun & easy DIY.
It's quick, simple & only requires a few items.
Bonus - it includes GLITTER!
Keep on a'scrollin' to learn how to make your own Glitter Moose artwork!
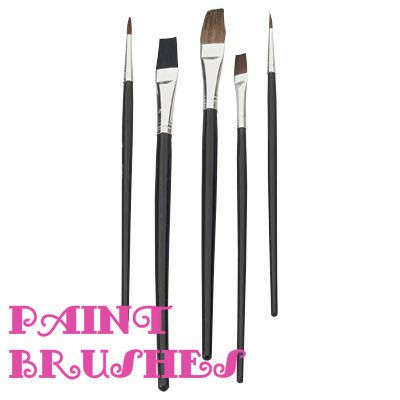
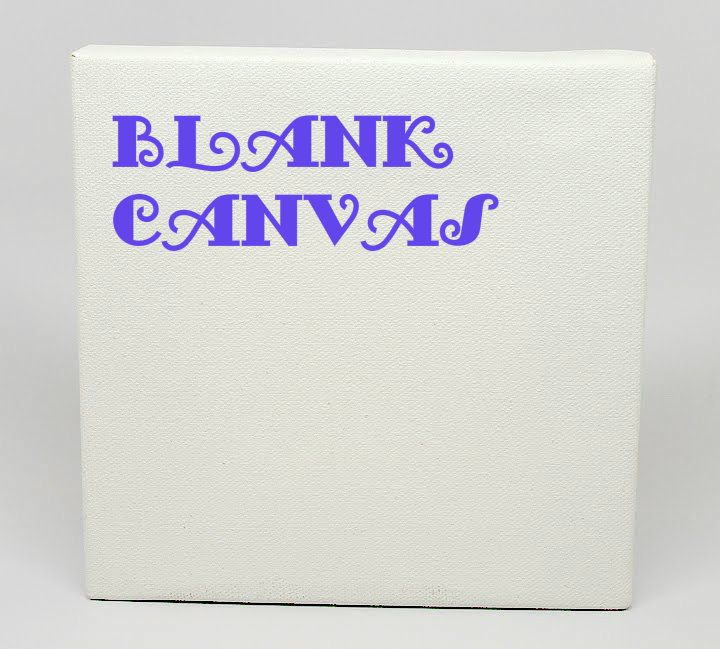
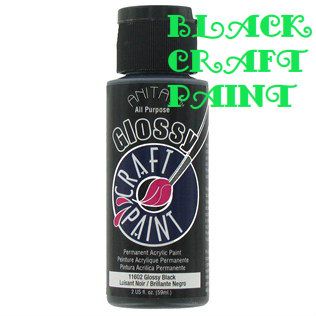
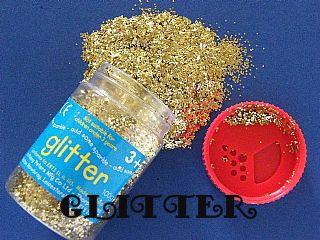
You will need:
...
...
...
...
1.) First sketch your moose outline onto the canvas using your pencil.
If you mess up the first time, you can always erase & try again.
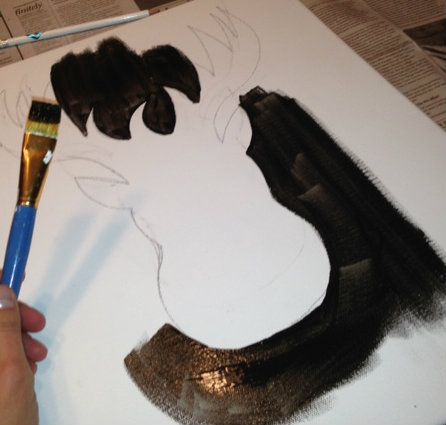
2.) Once your moose outline is sketched, begin to fill in the surrounding areas with black craft paint.
You will likely need 2 coats.
3.) Once your black paint is dry, it's time to move on to the moose.
Grab one of your other paint brushes, squirt a little glue, and begin to spread inside your moose outline.
I split mine up into sections.
Add glue to one section, sprinkle on glitter, pour off excess.
Add glue to another section, sprinkle on glitter, pour off excess.
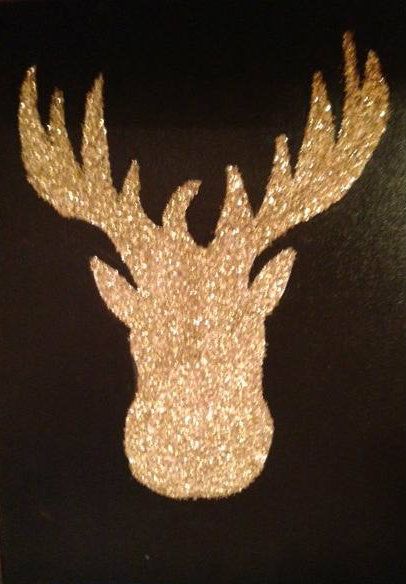
Keep repeating until your entire moose is covered in glitter.
Your finished product should look a little something like this...
Now it's time to find your new gorgeous artwork a home :)
I leaned mine against the wall in the kitchen to add a little bling,
but you could totally hang it on the wall or anything!
Great way to add a little holiday decor in a really unique way.
Have you already started decorating for the holidays??
I'm ready for holiday crafts but totally not in the mood for the tree yet.
What about you?
xo
Sam
share this on:: |
Digg |



3 Responses to “Holiday Glitter Moose Artwork DIY”
Oh I just love this DIY! And it's so easy AND it includes glitter!!! Right u my alley!!!
xx
Holly Foxen Wells
GlamourMash
love how it turned out!!
what a fun DIY!!
Post a Comment